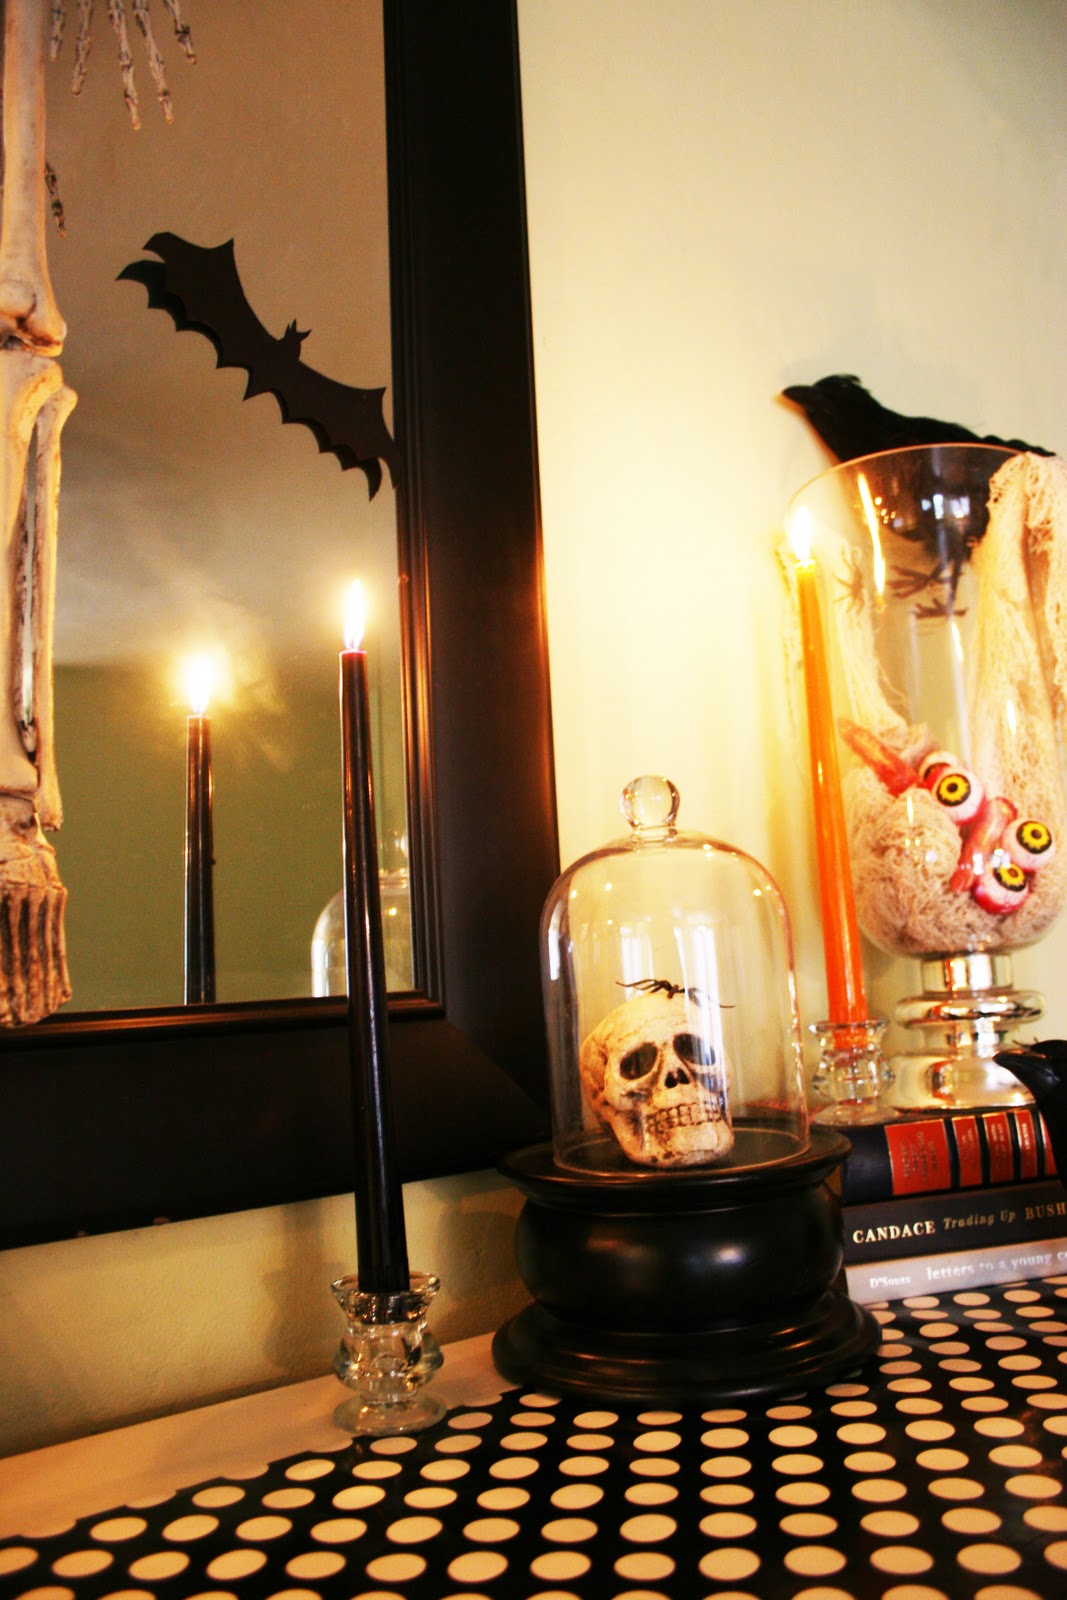
I started with my mantle. I used some black and white wrapping paper that I already had. I cut it in a thin strip so if my candles spill down, it won't stick to the mantle. I used some jars and vases and put some creepy stuff from Michaels in them.
For the witch and bat silhoutes, I found some images online. I traced them and used an exacto knife to cut them out.
For the front door, I stuck up my fall wreath that I purchased at TJ Maxx a couple years ago. Then I found the black sparkley skeleton at the $1 store! He can hang out til Halloween is over.
*Update* After I posted this, one of my favorite bloggers Vanessa decided to make use of the $1 store skeleton for her home-made wreath.... Go check it out because hers is way cuter than mine.
Then when you walk in...
I found these (above & below) orange jar candles at Rite Aid on sale for $3! They smell like spiced pumpkin... Mmmm. I cut out some bats on black card stock then attached them with twine. I love how the frosted glass glows. I added a few touches of fall here and there. Some fall leaves in an apothacary jar sit in the living room next to the couch.
On the table in the breakfast nook, there are some fall fruits all glitzed up.
Dont look too close.. or you'll notice the beadboard was NEVER finished from forever ago. I started it, and really dont have the motivation to finish it...YET.
This morning I baked banna-nut muffins and then it really felt like fall in my house. Now, I'm just waiting for the weather to catch on to that. ;)
Update, Update, Read all about it. Well I guess Look all about it, cuz there will be way more photos then words in this post. Cuz lets just be honest.. tha its what we love the most. Soooo...We are FINISHED, yes FINISHED with the chair rail, caulked, painted, touched up... DONE!
The entire bedroom is not exactly done, I still have a bit more to touch up... new light switch covers, some bamboo blinds for the windows, art work on the walls, re-do a craigslist chair I bought...etc. But the focal point is totally done!
BEFORE: the bedroom had an awkward layout because of the odd third window behind the bed. It never looked "right".
(EWWWWWWWW)
The only way the bed wasn't in front of the window was if it was too close to the closet door that opened outward. Also, moving it away from the window meant it was closer to the door, and the room is already small enough without being forced to walk straight into a bed.
For an entire year I had no idea what to do with this un-masterful "Master Bedroom". Then I realized I could cover the entire wall with fabric. That was my bedrooms saving grace. My inspiration was for it to feel like a hotel, a get-a-way in our own house.Remember my dreamy white fabric inspiration post about my bedroom?
With that being said... we finally finished the chair rail in the bedroom and hall. (The guest room hasn't been painted at all).
Here is a shot of our little hall, which is about one shade lighter than the bedroom paint....
After we finished painting the bedroom we got busy with our "focal point" of the room.
I bought some fabric from a local discount fabric store for $3 a yard. I bought 15 yards and sewed the tops so they could slide onto the cheapo curtain rods I bought for about $10.
I didn't even paint the wall that has curtains on it, because well who's gonna see it!??!? Plus, I'm lazy. We had to cover up the curtain rods so...
With some advice from Vanessa at This & That (I'm sure your sick of me talking about her) I used a 1x6 board painted the same color of the wall, attached it to the ceiling with L brackets.She told me this is what they did in her room. Thanks Vanessa.
Ryan held it up while I screwed it in. I'm so immature, cuz that sounded really dirty... kinda. Sorry this post is no longer PG.
Then we put away all the tools, threw away the drop cloths with all the mess on them, and washed the bedding, spruced up the room... and TA-DA....
AFTER
In the corner I put and chair that I purchased from craigslist for $20! I need to paint and reupholster it still....
I'm so happy every time I walk into the hall and see the new chair rail. I went a little crazy with it... I ended up doing our bedroom, the hall, and one of the extra rooms. I think it looks awesome and fresh. But before we get to that I should announce the winner from last week, SOOOO....
Thank you for everyone who participated in last weeks Give-A-Way to CSN online stores.
The lucky winner is Krissy L! Congratulations. Krissy, just make sure you send me your email address. Have fun shopping and good luck making a decision!
Okay now lets get back to this post... Can I just say how fun it is working with power tools like a miter saw. I felt like I was so cool. =) I purchased some casing from Lowes, Tudor is was called. I got enough for my bedroom, or so I thought. But once I started I was a bit short so I went back (the next day) to get some more and what do yanno... It was on clearance for 50% off! I was able to get the difference back from the price i had previously received. With that extra money I decided I should buy a bunch and do the hall and the guest room. They only had 3 left at that store, so I bought them out and then headed to another Lowes. I came back with more molding then I knew what to do with. I was able to do all the rooms I wanted to, and still have a bit extra. I think I will go get some more, so I can finish my kitchen finally. I started to bead board the kitchen and never finished. I have A.D.D. when it comes to home improvement.
I didn't have a level, so I measured 60" down from the ceiling all along the wall, and then used a straight edge to connect the dots. This was probably better because our old house isn't perfectly level all around anyways. Then I measured the sections of chair rail that needed to be cut, and got to mitering. I cut all the pieces first, then put them up on the wall. How did I do that all by myself you ask...?
I applied some liquid nails, then taped the boards up with some masking tape. Then I used a nail finishing gun to secure them in place.
The most difficult part (and it wasn't too bad at all) was where to molding was too short for the wall, so I had to connect two together. There were many little cuts involved in this, to make sure It was "just right".
I added the following picture because it was my favorite corner. Yes, I had a favorite corner. Some needed a lot of caulk to look good.. but this one needed just a bit. I even brought Ryan in to look at this specific corner because I was proud of it.
Here is my room done, well done installing not DONE done.
After it was installed I went in with a caulking gun to finish off all the gaps. We had way too much fun with caulk jokes. I felt like I was 13 because they never got old.
The next day Ryan and I got to painting! It was a great day because we completed a day of home improvement with out fighting! I don't know about you guys, but it seems like any time we work together on the house there is ALWAYS a disagreement to put it lightly. I think we both try to be the "boss" and think we know exactly how to do it , but not for this project. We completed the whole thing in peace! We were so proud of ourselves.
One of us worked on painting the top color while the other worked on the bottom color. We switched around a bit, to get the trim work done too. The top color Sherwin Williams Perfect Greige needed only one coat, but the Valspar Ultra White needed three coats! The Perfect Greige came out way more than I thought. I wanted it a lot more gray, but O' Well.
Remember when I told you about my ikea trip to pick up a chunk of butcher block? I've wanted to instal some butcher blockin my kitchen for a while after seeing some juicy insipration photos around the web. So I got to it, and have now completed one side of the kitchen, the small side.
First I had to cut about 5" off the length to make it fit in my space.
Then I sanded the original finish all the way down to the raw wood. I mixed my own stain, because the "Special Walnut" was too light, and the "Dark Walnut" was way too dark. Sooo.... I got a quart of Special Walnut and added one of those tiny little cans of Dark Walnut to it. I shook it up real good, and wa-la the perfect color. If you decide to mix stains make sure you wear gloves!!! I didn't and had stain all over my hands for about 2 days.
I did two coats of stain, letting each coat sit for about 15 minutes, then rubbing the excess off. I let it completely dry for about 4 days.
Above, how it looked with one coat. Below, working on the second coat.
I used Waterlox Original Satin to protect it. I almost broke down and used a regular old oil finish from Home Depot, but decided I should do it right. I heard that Waterlox was the best, and I am so glad I listened. It was hard to find, as no body seems to carry it around here. I had to order a quart from their website.
In the following photo you can see how the water just beads up. It is super easy to keep clean and dry. I love my new counter! I can't wait to do the rest of the kitchen.
My kitchen was looking very cold, with the white cabinets, blue paint, tin backsplash, and stainless steel appliances. The warmth of the wood gives it a perfect contrast I think. It really makes the kitchen look more homey, warm and livable.
And just to refresh your memory, this is what the kitchen looked like about a year ago.




 I added a few touches of fall here and there. Some fall leaves in an apothacary jar sit in the living room next to the couch.


